Resin Bound Drive should be laid on flat surfaces and have an even base. Make sure there are no cracks or holes in the surface before laying.
Preparation
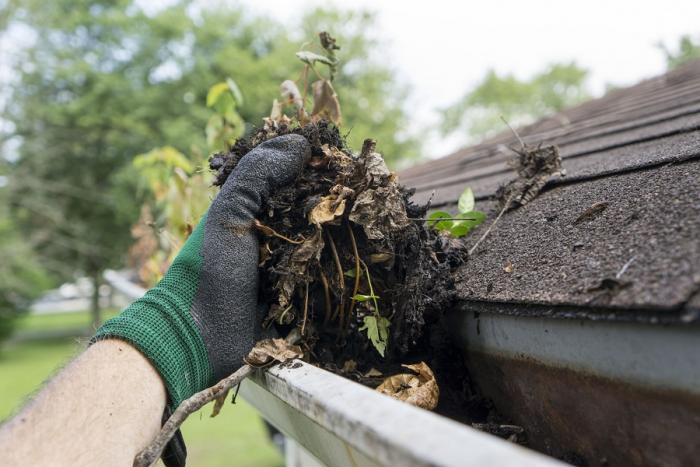
Getting the prep work done is crucial, as always. A driveway made of grass will cost more because of groundwork. Prior to laying resin, you will have to dig out, lay stone, lay macadam, and lay edges. Cleaning and drying the surface is necessary.
Crack repair
You may have to do some crack repair work or infill before resin can be applied to an old surface, like concrete. A strong, flat sub base is ideal. Invest in a polyurethane primer to aid with adhesion on a concrete surface. After the primer has been applied, you would then install it.
Mixing
The installation cannot be started if it is raining prior to mixing. You can check the relative humidity by using a hygrometer. You can’t begin working if it is over 80%. Be sure to prime and dry the base. The quantity, batch number, and color of your aggregates should be checked. Ensure all your equipment is clean and ready to be used and that all the materials you need for the driveway are on hand. If you want to avoid resin stains, make sure all surfaces of your work area have been taped. Wet edges are mixed for three to five minutes, and then the mix is poured out and mixed in.
After mixing
- Fill the wheelbarrow with the mix.
- Make sure the mixer is turned off and all of the mix has been scraped from it.
- Ensure that your aggregates aren’t wet or damp before mixing.
- You should mix for a long enough time that any uncoated material does not remain.
- Make every mix the same length.
- Make sure the aggregates are mixed in the correct proportion.
- A shaded area is best for aggregates.
- Look for inconsistencies at every angle on the previously troweled surface. If there are marks or anomalies at this stage, they can be easily fixed, but after the mix has cured, it becomes impossible to fix them.
- Plan your route, and mark out the squares with chalk.
- Mark the mixing area with batons.
- Using a screed bar will even out the mix even more, prior to trowelling.
- To prepare the trowel for trowelling, clean it thoroughly in white spirit.
- Make sure every edge is packed with aggregates.
- The mix should be tightly compacted, level, and closely woven.
- Once the aggregates are no longer moving fluidly, they should be troweled until they are solid.
- After leveling and compacting, the surface can be smoothed (polished).
- To ensure seamless and easy blending with the next batch of aggregate, make sure each trowelled section’s edge is rough and unworked.
- An additional slip-resistant layer can be added with a light sprinkle of crushed glass or sand.
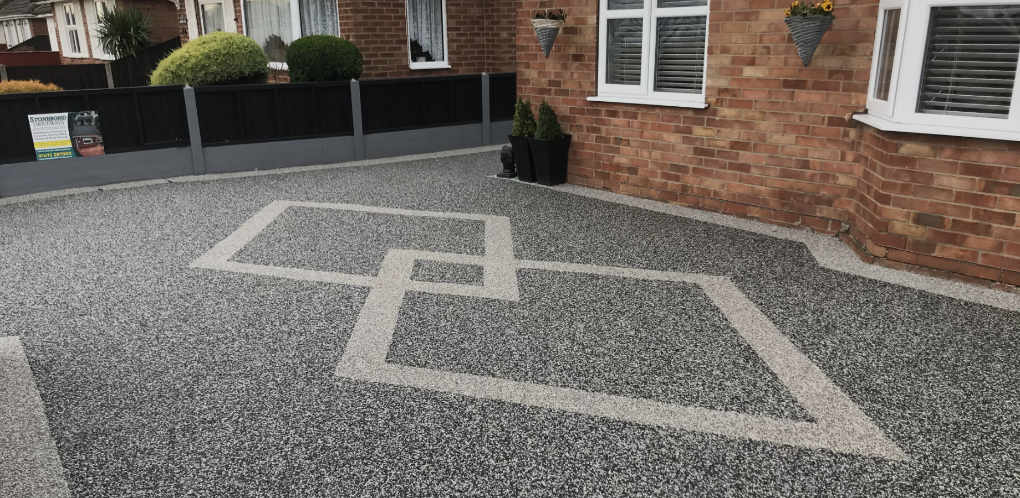
- The surface is then finished with a hover trowel to ensure it is as uniform as possible. To prepare the area for foot traffic and vehicle traffic, it must rest for 24 hours.